Openers · Kawartha Lakes
Photo-Eye Sensor Alignment or Replacement
Someone backed the car in a little too far, a bin or a bicycle brushed the track, and since then the door starts to close and comes back up.
In plain words
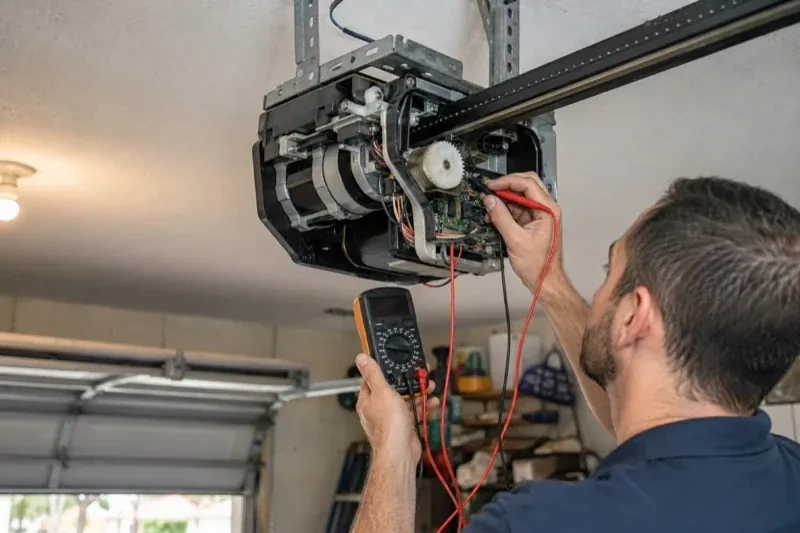
Your opener has been trying to tell you what is wrong. The head unit flashes its light a set number of times, or blinks a pattern on its up and down arrows, and each pattern maps to a cause on the maker's chart: beam blocked or misaligned, wire cut or disconnected, wires reversed or shorted. Down at the floor, many sensor pairs carry an indicator on each side, though some older pairs light only the receiver; check that model's chart, since a receiving light going out or flickering usually points to alignment. The technician reads both sets of signals first, which is why the repair usually takes one visit.
How the visit goesSomeone backed the car in a little too far, a bin or a bicycle brushed the track, and since then the door starts to close and comes back up. One sensor now sits at a slightly different angle from the other.
Photo-Eye Sensor Alignment or Replacement
How the visit goes
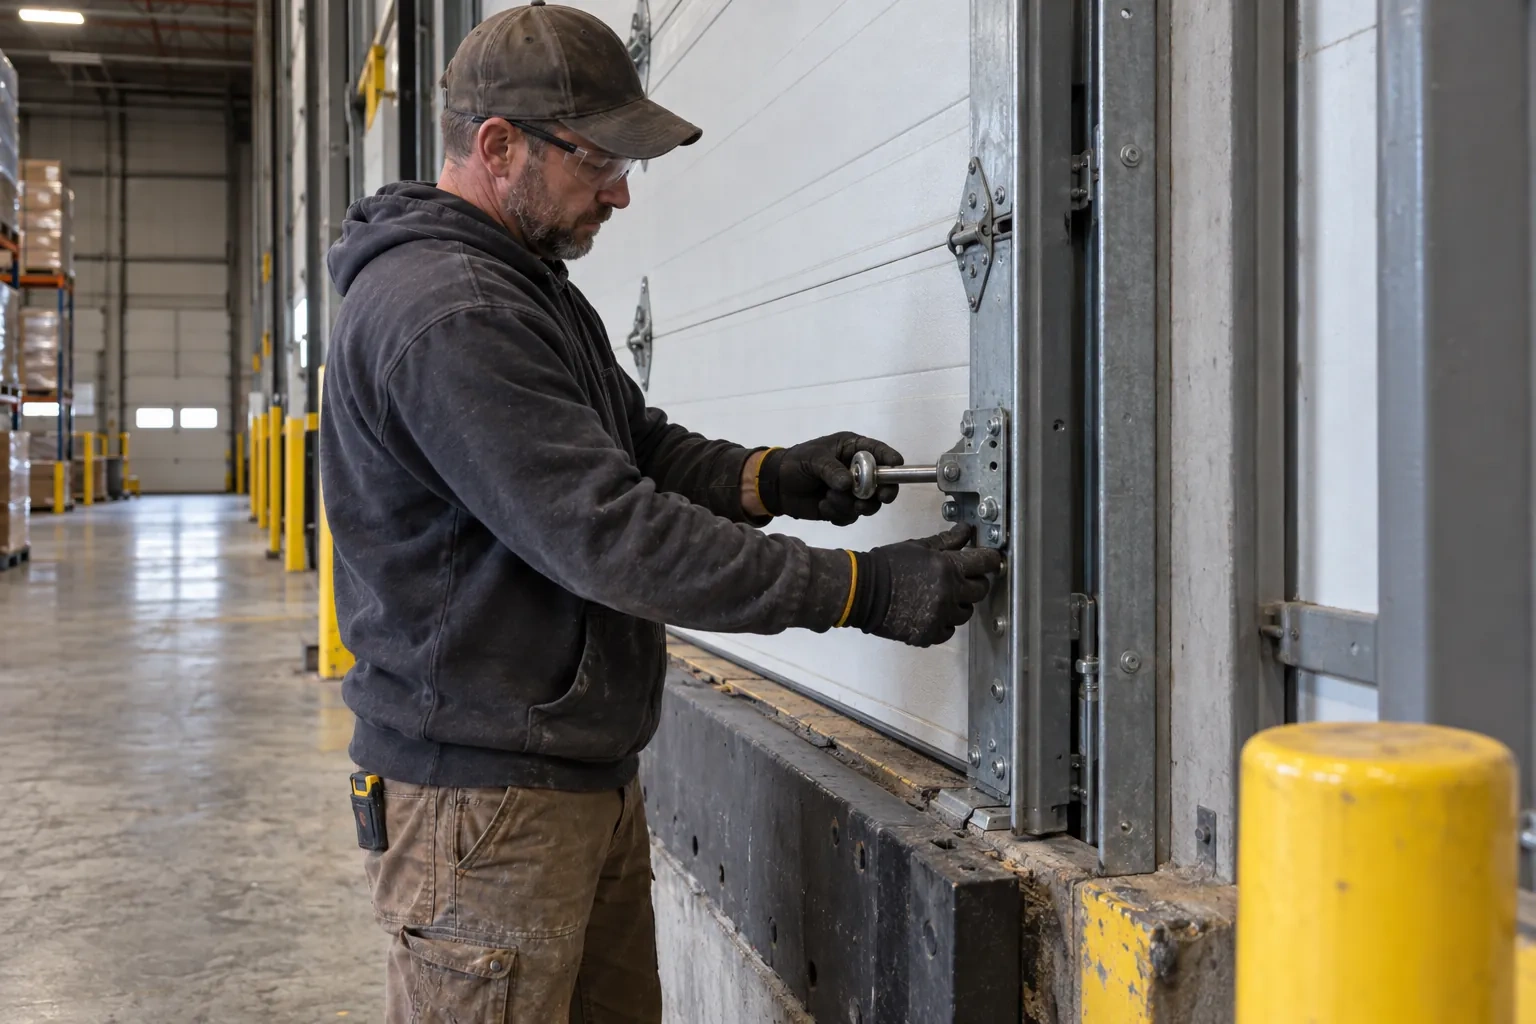
Clearing and walking the beam
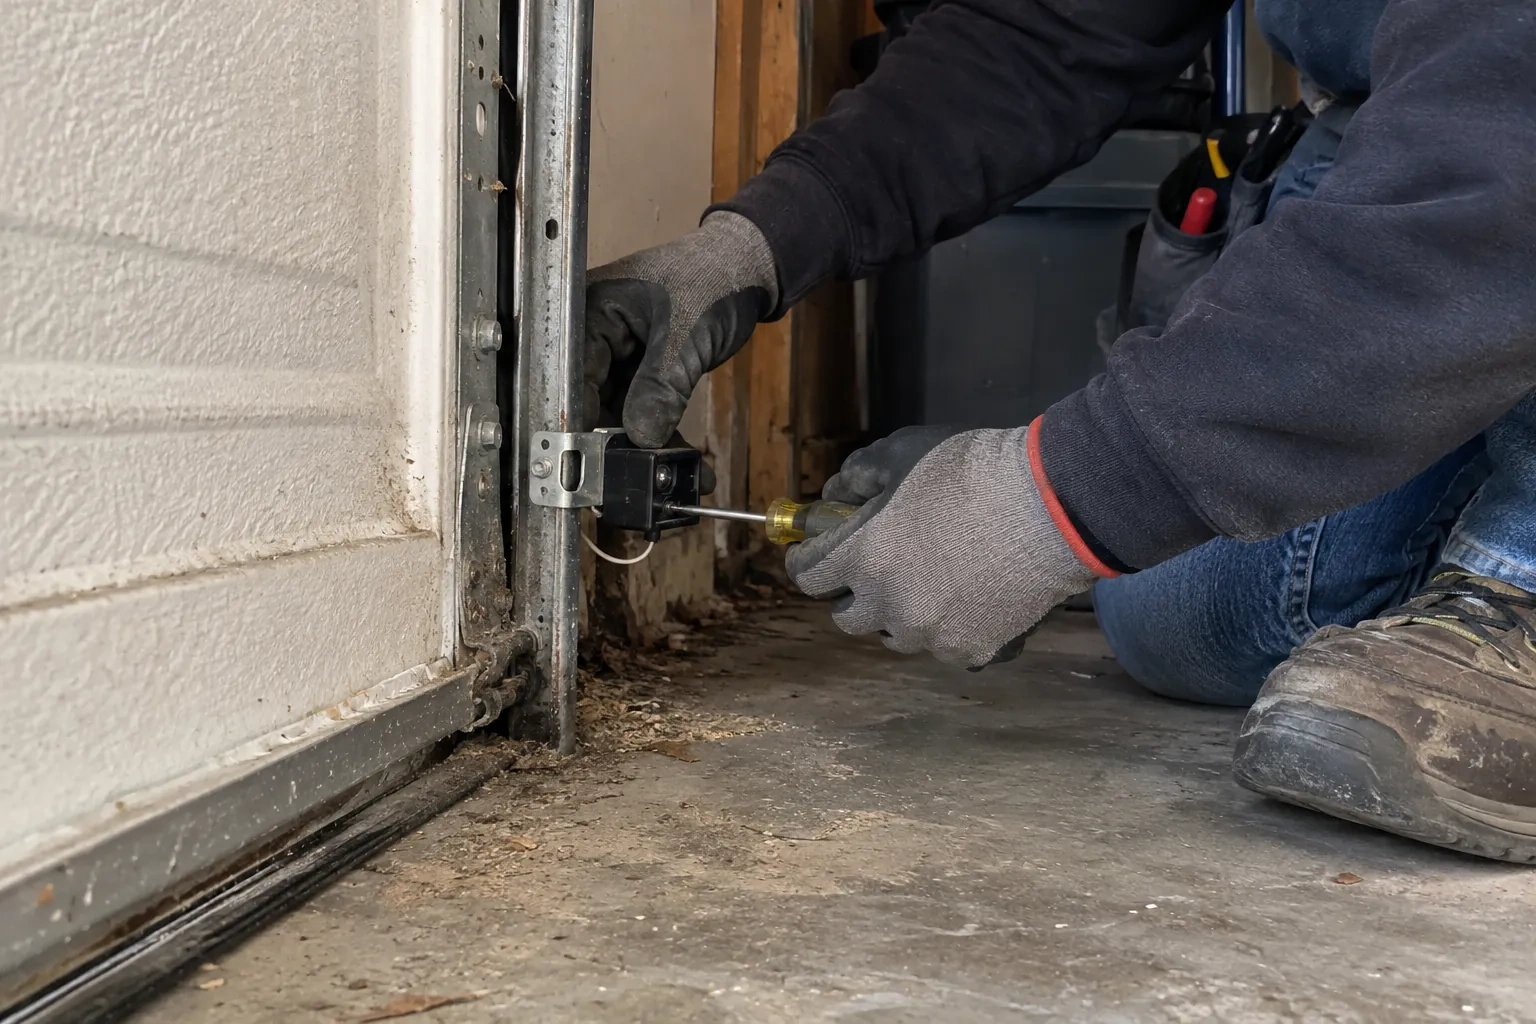
Before anything is adjusted, the technician clears the strip of floor between the two sensors and looks along the beam line at sensor height. Things that break a beam are rarely dramatic: the corner of a recycling bin, a hose left coiled by the wall, a bag of salt, leaves blown in under the door, a cobweb bridging a lens, a new weatherstrip or track shoe that sits a little proud. Snow and ice piled inside the door in winter count too. With the path clean, the door is tried again, because a fair share of sensor calls end right here, with a lesson about where things can and cannot sit.
Fitting a matched sensor pair
When a sensor has failed, the replacement is chosen for the opener rather than from a shelf of lookalikes. The technician confirms the make and generation from the head unit label, because sensors from one era are not always recognised by a board from another. The new sending and receiving sensors are mounted on the existing or new brackets at matched heights, wired with the connectors supplied, and brought up until both indicators glow steadily. Universal pairs exist for some operators and are used where they are documented to suit that model; where the opener is old enough that no compatible pair is made, the conversation moves to a modern operator.
Two lights to glance at
You leave knowing what normal looks like at the floor. Most sensor pairs carry a small indicator on each side, often in different colours for sender and receiver, though some older pairs light only the receiver; the model's own chart tells you what steady and flickering mean. A dark or flickering light on the receiving side means the beam has been lost, usually because a bracket was bumped or something is in the path, and two dark lights mean the pair has lost power along the wire. A glance at those lights before calling anyone tells you most of what the technician would look at first, and often the fix is moving whatever is leaning on the bracket.
Photo-Eye Sensor Alignment or Replacement
In the van
Track-mount sensor brackets
Concrete anchors
Two-conductor low-voltage wire
Receiving-eye sun shade
Wall or floor angle brackets
Photo-Eye Sensor Alignment or Replacement
What affects the quote
Opener make and generation
Sensor pairs are matched to the opener family, and some models take a kit with brackets and wire while others take sensors alone. The head unit label sets which pair is needed and how it is priced.
Protecting exposed wire
On a wall where the wire runs in the open, a slim protective channel or a re-route higher along the wall keeps bins, bikes and mice away from it, and is quoted as its own line.
Sun and reflection remedies
Swapping the sensors side to side is a small addition when the wiring reaches. Fitting a shade, or extending the wire so the receiver can move, is a little more and is listed on its own.
What to have ready
- Which direction does the garage door face?
- What make and model is on the opener's label, and roughly how old is it?
- Does it happen at all hours, or mainly on bright mornings or late afternoons?
Photo-Eye Sensor Alignment or Replacement: questions
QuestionsMy opener has no sensors at all. Can they be added?
If the opener predates the entrapment-protection standard, which operators have had to meet since the mid-1990s, its board has no sensor circuit and a pair cannot simply be wired in. The positive news is that a modern operator brings the whole package: matched sensors, force reversal and a monitored circuit. The technician confirms the model first, because some units do have the terminals and simply had their sensors removed.
Can any sensor pair be used with my opener?
Not any, no. Sensors are matched to the opener's make and generation, and a board from one era may ignore sensors from another even when the wires fit. The technician reads the model from the head unit label and fits the pair listed for it. Some operators accept a documented universal pair, and those are used where the maker lists them as suitable; on a very old unit with no compatible pair, a modern operator is the way forward.
What happens during the visit, in order?
Questions first: what the door does, when it began, what changed. Then the beam path is cleared, the sensor lights are read, the opener's flash code is counted, and the brackets and heights are measured. If the signs point to the circuit, the wire is traced and tested with a meter. The cause is fixed, whether that is alignment, brackets, wire, a shade or a new pair, and the visit closes with the beam test and the contact reversal test.