Openers · Kawartha Lakes
Garage Door Opener Diagnosis and Repair
You press the remote from the driveway and hear the motor hum overhead, a steady drone with no movement behind it.
In plain words
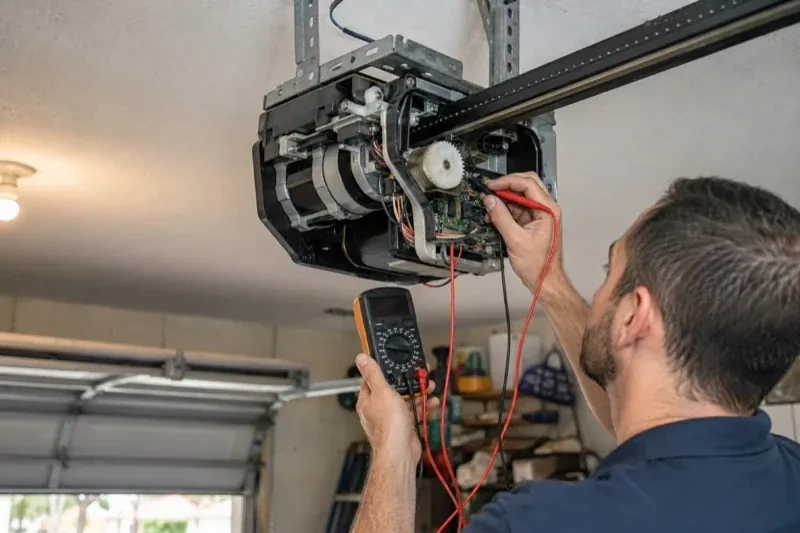
Garage door opener diagnosis is a fault-finding visit with a fixed order of tests. The technician confirms power at the ceiling receptacle, tries each control on its own, checks the safety sensors and their indicator lights, examines the drive train from motor to trolley, and reads any flash code the unit is showing. Only then is a part named, because a dozen different faults look identical from the driveway and guessing at the part costs you a second visit. When the cause is a small component, the repair is made while the technician is there; when it is not, you get a clear account of what comes next.
How the visit goesNothing. No light, no click, no hum from the unit on the ceiling. The remote is dead, the wall button is dead, the keypad is dead. It worked yesterday evening, before the storm knocked the power out for an hour and brought it back with a flicker.
Garage Door Opener Diagnosis and Repair
How the visit goes
One control at a time
Each way of telling the door to move is tried on its own: the wall control, every remote, the outside keypad and, if fitted, the phone app. The pattern of what works tells a story. If the wall button works and nothing wireless does, the receiver, the remote batteries or a lock setting is suspect. If a remote works only up close, range and interference are the topic. If nothing at all works but the unit's light responds, the fault is downstream of the controls. The technician also checks the wall control's own indicator, which on most models blinks continuously when lock mode has been switched on by accident.
Sensor alignment and replacement
Photo eyes are brought back into service by fixing what actually broke. A bent bracket is straightened and re-secured so the two lenses face each other at the same height; dirty or frosted lenses are cleaned; a receiving eye blinded by low winter sun gets a shade, or the pair is swapped side to side. Wire that has been stapled through, chewed or pulled from its terminals is re-run with fresh bell wire, clipped clear of the track. When a sensor's electronics have failed, the pair is replaced together with units made for that opener, then the beam test is repeated to prove the circuit closes and the door reverses.
Care between visits
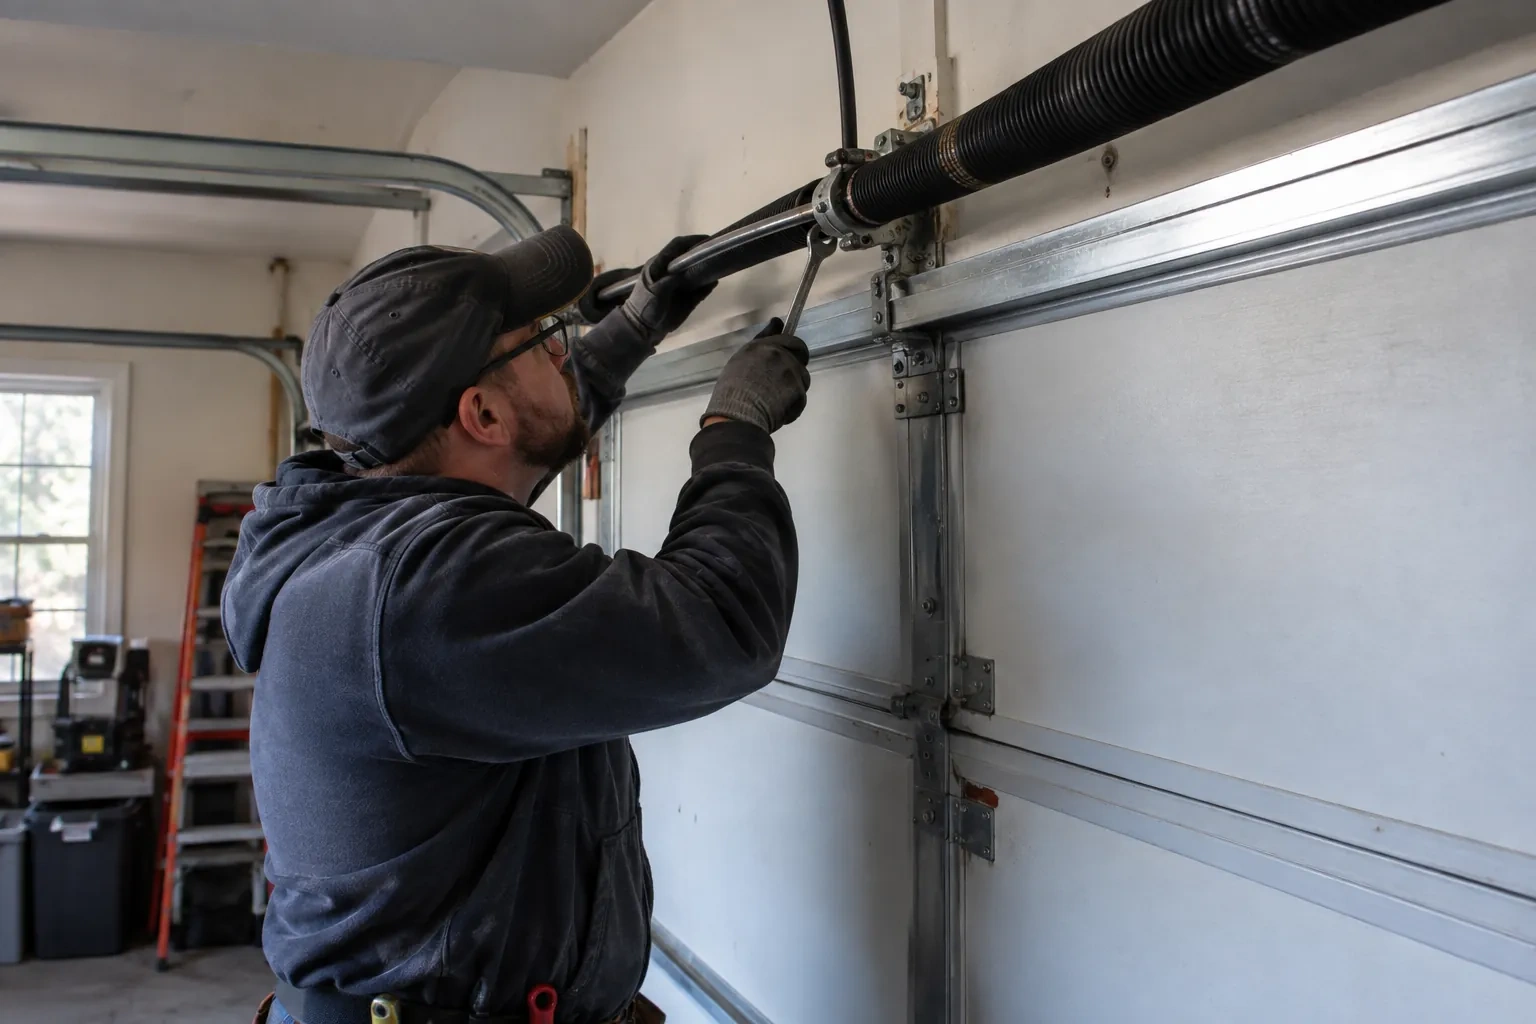
An opener lasts longer when the door it moves stays easy to move. Twice a year, put a garage door lubricant on the rollers, hinges, bearings and springs; leave the track itself clean and dry so the rollers roll rather than slide. Wipe the sensor lenses and check their brackets have not been knocked. Glance at the chain for slack, and at the bolts holding the rail to the header and the ceiling. Listen for new sounds, since a grinding start or a squeal is the drive asking for attention while the fix is still a small one. None of this touches the springs, which stay a technician's job.
Garage Door Opener Diagnosis and Repair
In the van
Wall control
Start capacitor
Remote batteries (coin and cylinder cells)
Transformer and board fuse
Trolley and carriage
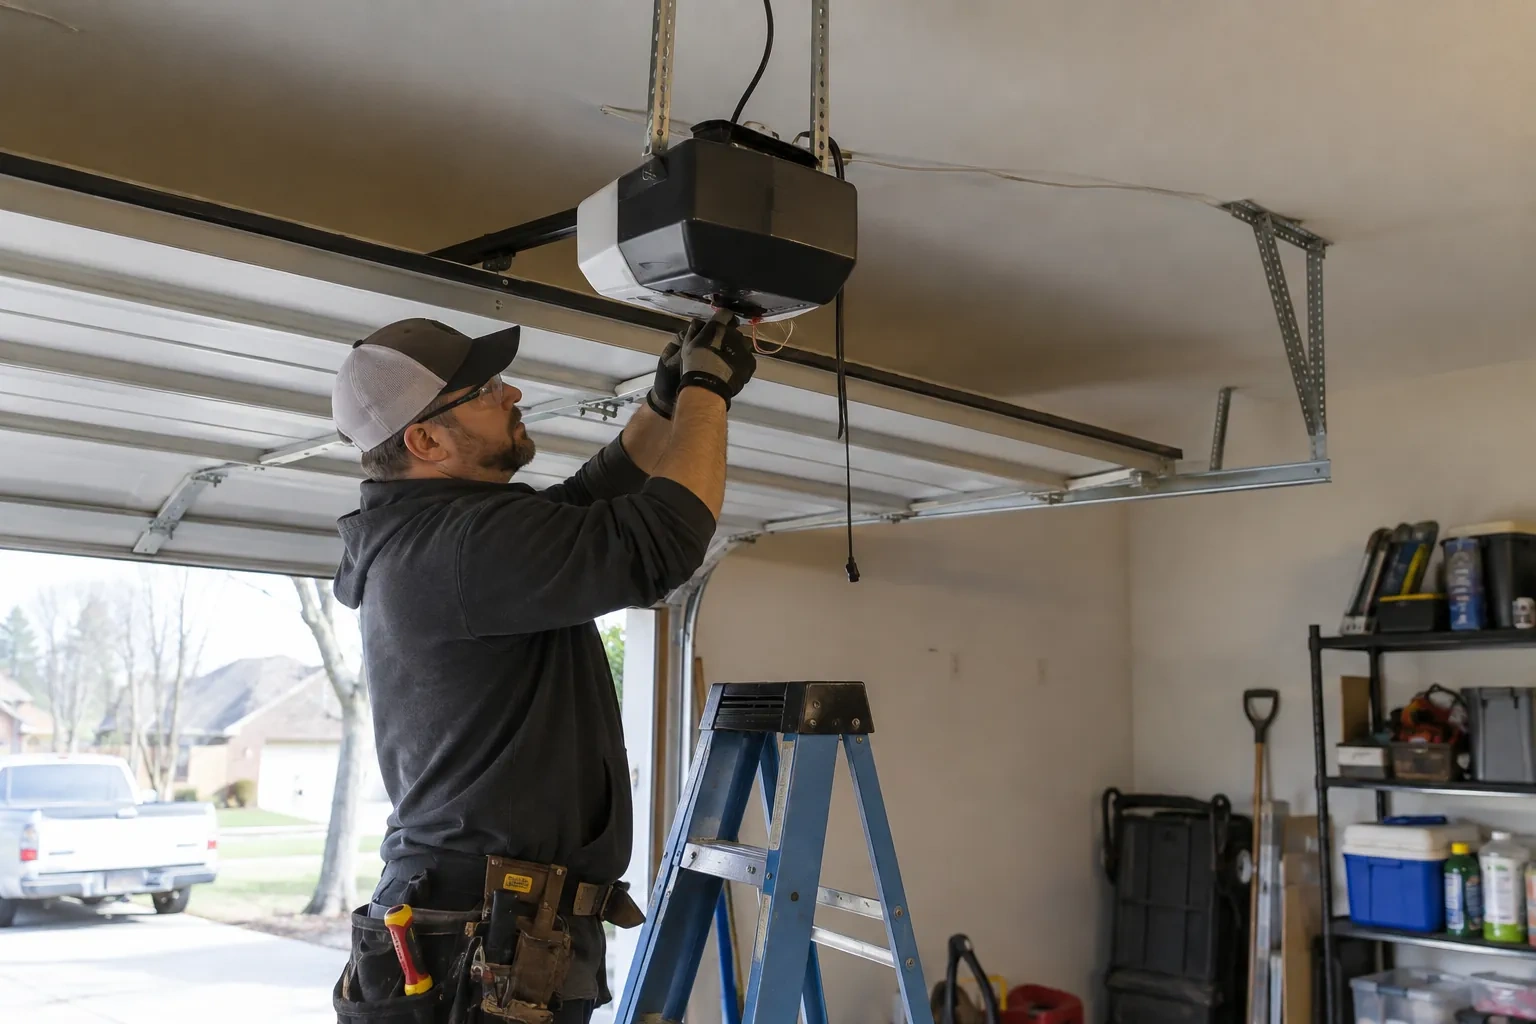
Garage Door Opener Diagnosis and Repair
What affects the quote
Repair or replacement
When diagnosis points to replacement, the quote changes shape entirely: a new head unit, rail and sensors with installation, plus removal of the old opener, rather than a single part and labour.
Which component failed
A capacitor, a sensor pair or a re-engaged trolley sits at one end of the range; a logic board or a motor sits at the other. The diagnosis names the part before the quote is settled.
Sensor realignment versus replacement
Straightening a bracket and cleaning a lens is a small task. Replacing the sensor pair and running new wire along the wall and ceiling is a larger one, and the quote names which applies.
What to have ready
- Are the two small lights on the sensors near the floor steady, flickering or off?
- Is the garage connected to the house, or does it have a side door?
- Has anyone pulled the red emergency release cord recently?
Garage Door Opener Diagnosis and Repair: questions
QuestionsWhat does an opener diagnosis actually involve?
A fixed sequence of checks, done in order so nothing is assumed. Power at the receptacle. Each control tried on its own. The photo eyes and their indicator lights. The head unit's flash code, if it has one. The drive train from motor to trolley. Then the door itself, disconnected and lifted by hand to test its balance. Only after that is a part named and, where it is a small one, replaced during the same visit.
How long does a diagnosis visit take?
The checks themselves run in a set order and take a modest part of an hour on most doors. What extends a visit is the repair that follows: a gear kit or capacitor adds a little, a sensor re-wire or a trolley change adds more, and a door-side problem such as a balance fault may mean a second piece of work. You are told where things stand once the cause is found, before any further work begins.
There are white plastic shavings under the opener. What are they?
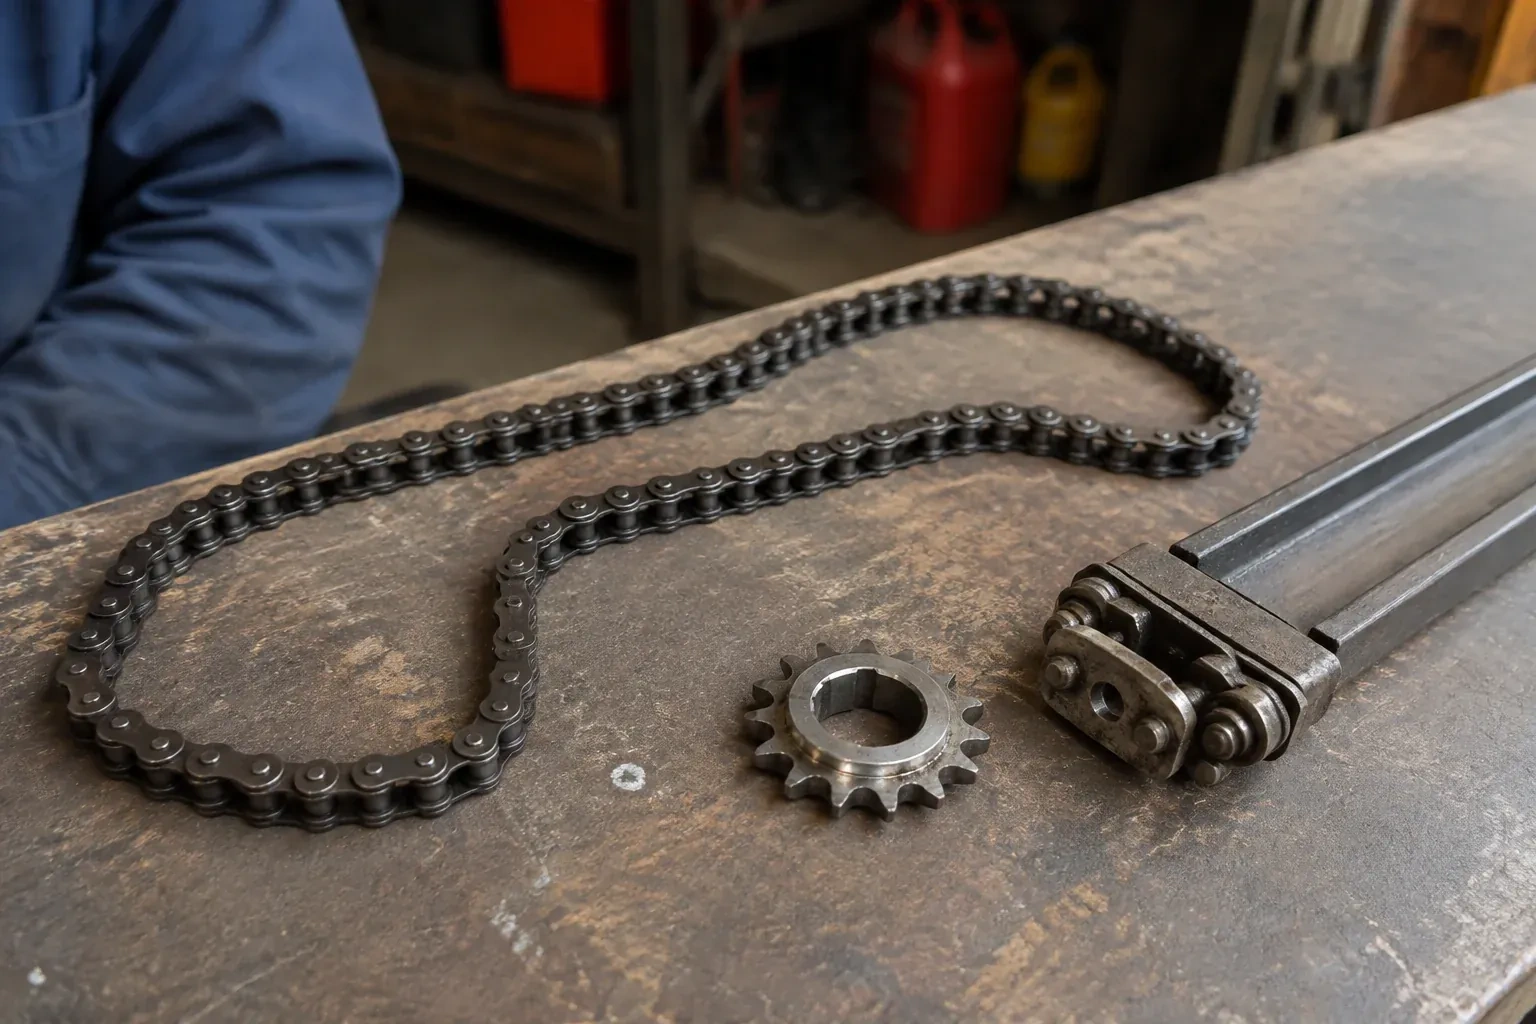
Teeth from the drive gear. Many chain-drive openers use a nylon gear between the motor and the sprocket, and after years of running, especially against a heavy or dry door, its teeth shear off and fall as fine white curls onto whatever is parked below. The motor then spins without moving the chain. The gear and sprocket are replaced as a kit, and the door balance is checked so the new gear is not asked to carry the same load.
Related services
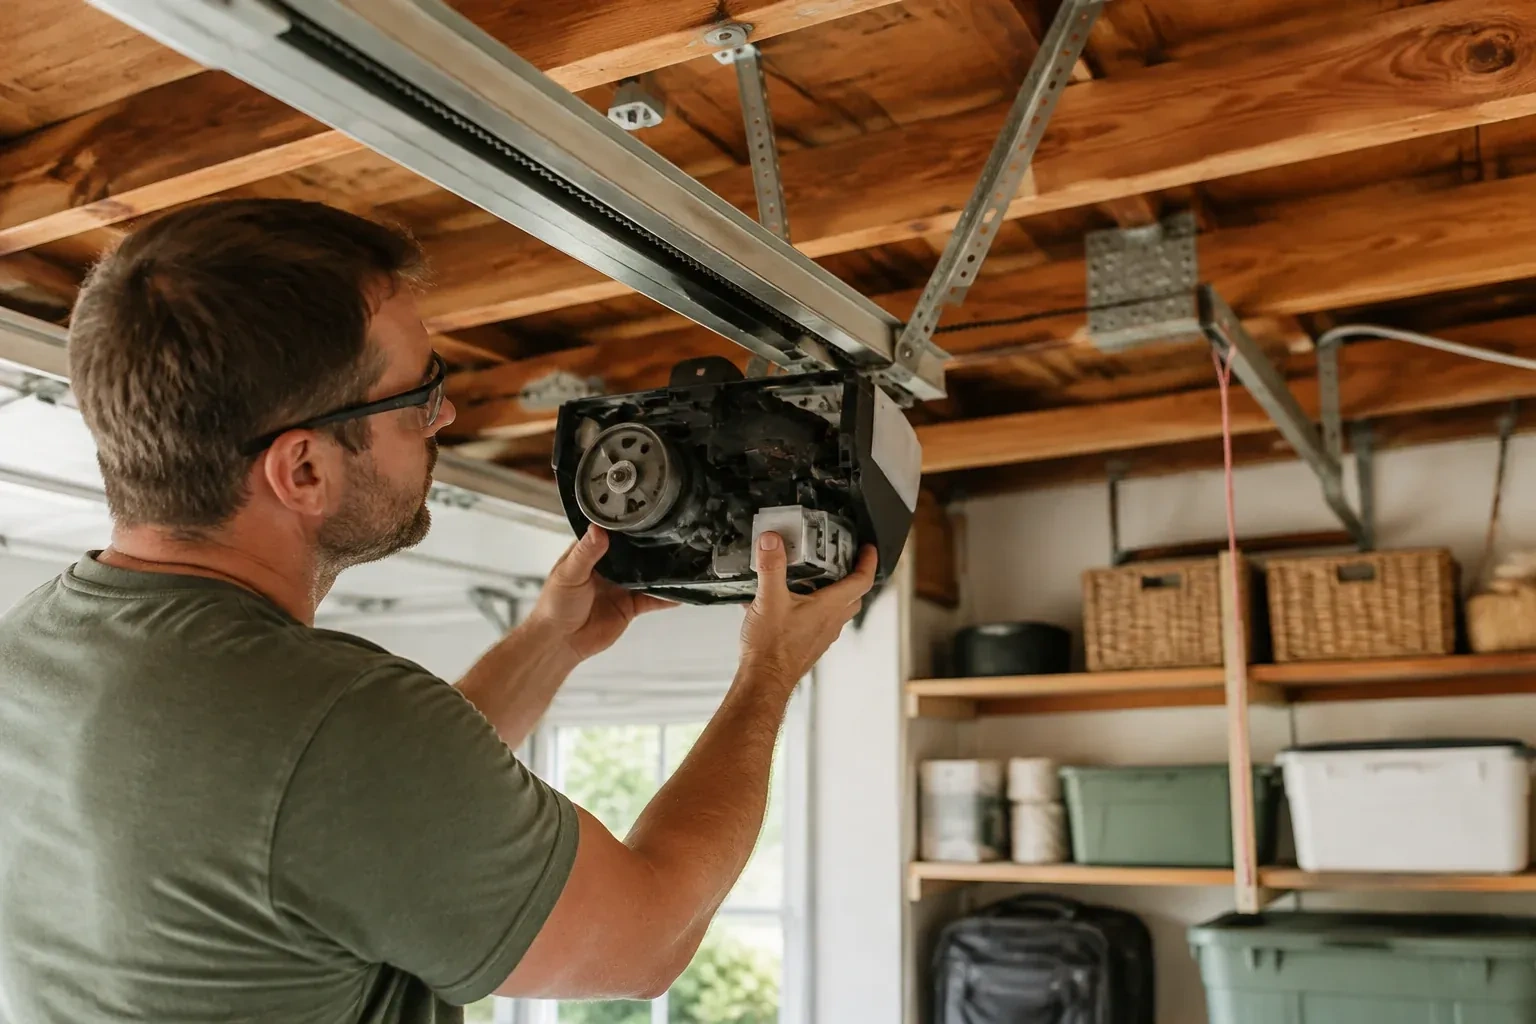
- Belt-Drive Opener RepairSomeone tightened the belt last month to stop the sag.
- Garage Door Opener ReplacementPress the button and the motor hums, but the door stays exactly where it is.
- Photo-Eye Sensor Alignment or ReplacementSomeone backed the car in a little too far, a bin or a bicycle brushed the track, and since then the door starts to close and comes back up.