Openers · Little Britain
Photo-Eye Sensor Alignment or Replacement in Little Britain
Someone backed the car in a little too far, a bin or a bicycle brushed the track, and since then the door starts to close and comes back up.
In plain words
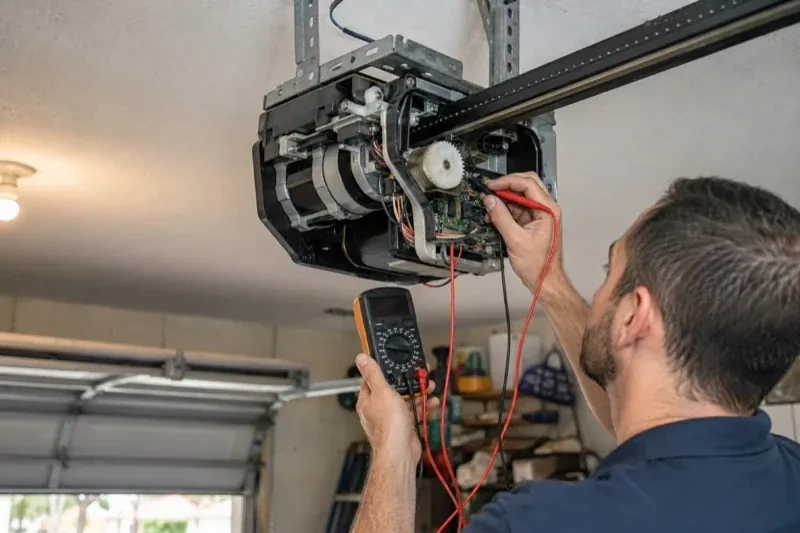
The sensors are only as good as the thin two-conductor wire that links them to the opener. It runs from the low-voltage terminals on the head unit along the ceiling and down each wall to the floor, stapled as it goes, and it is easily pierced, cut during renovations, chewed, or pulled loose at the terminals. When both sensor lights are dark, or the opener's code says the circuit is open or reversed, the technician tests the run end to end, repairs the damaged section or replaces the whole run, checks polarity at the terminals, and clips the new wire clear of the track.
How the visit goesThere are no sensors at the floor at all, or a previous owner has wired the pair together up beside the motor so the beam never crosses the doorway. A home inspector has just pointed it out.
Photo-Eye Sensor Alignment or Replacement
How the visit goes
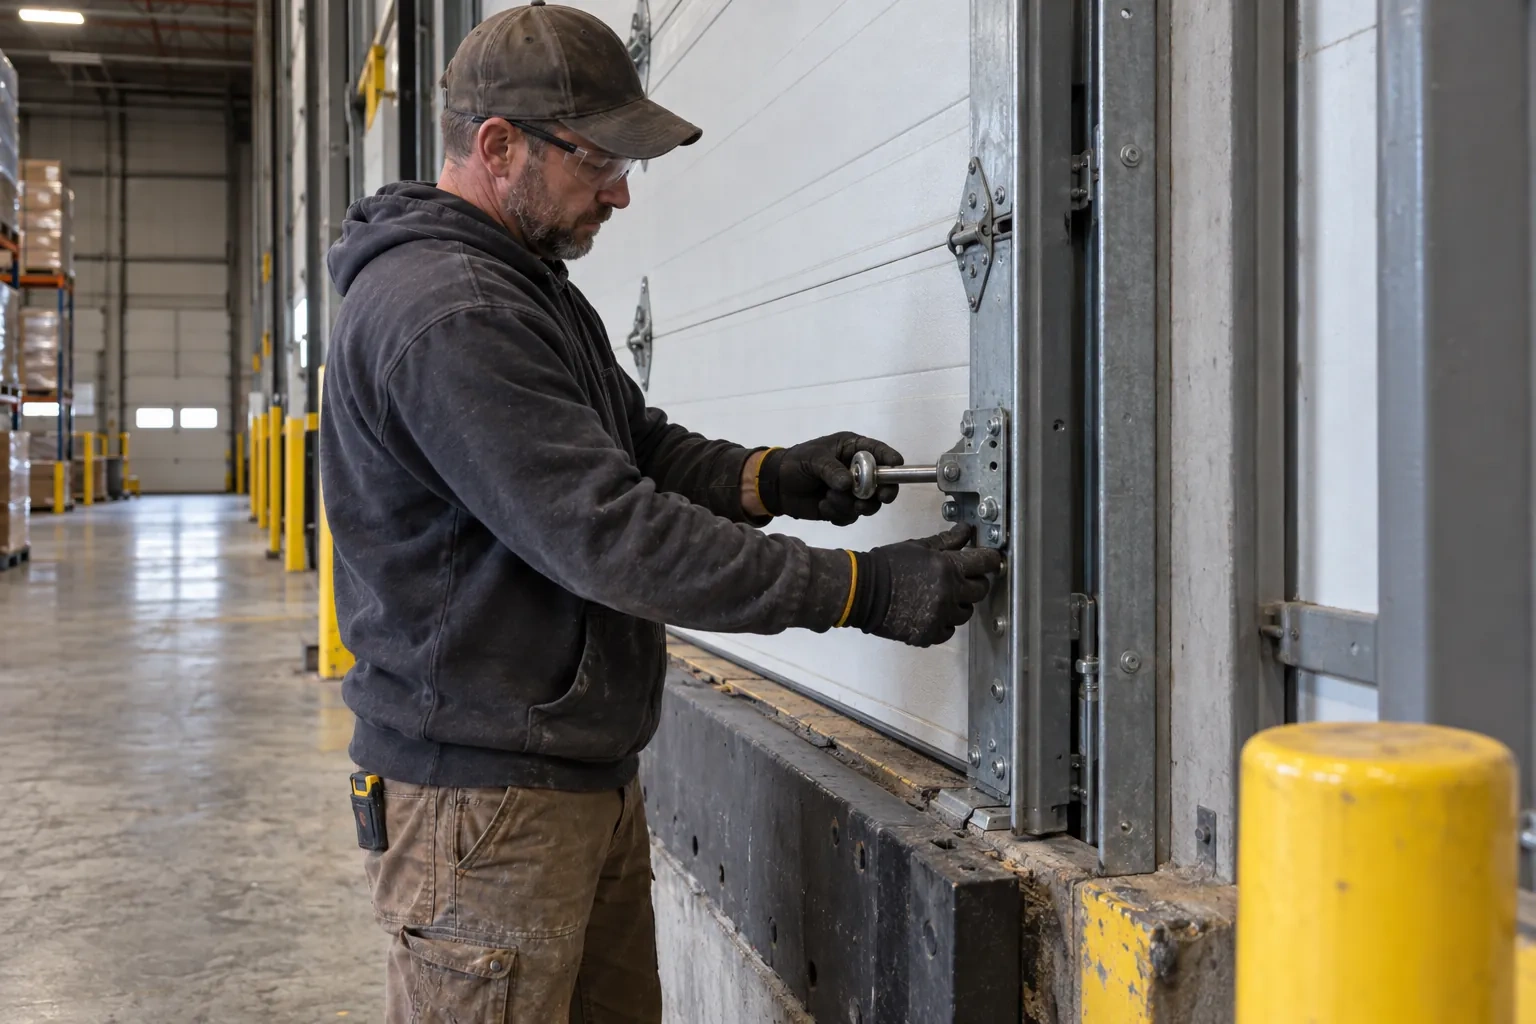
Reading the two small lights
Most sensor pairs carry an indicator on each side, though some older models light only the receiver, so the technician checks that model's own chart first. On most openers the sending eye shows one colour and the receiving eye another, and both should glow without a flicker. If the sending light is steady and the receiving light is dark or blinking, the beam is not landing where it should: misalignment, an obstruction or a dirty lens. If both are dark, the pair has no power, pointing up the wire to a cut, a loose terminal or reversed connections. The technician also nudges each bracket gently while watching the light; a flicker on touch means a loose mount.
Straightening or replacing the brackets
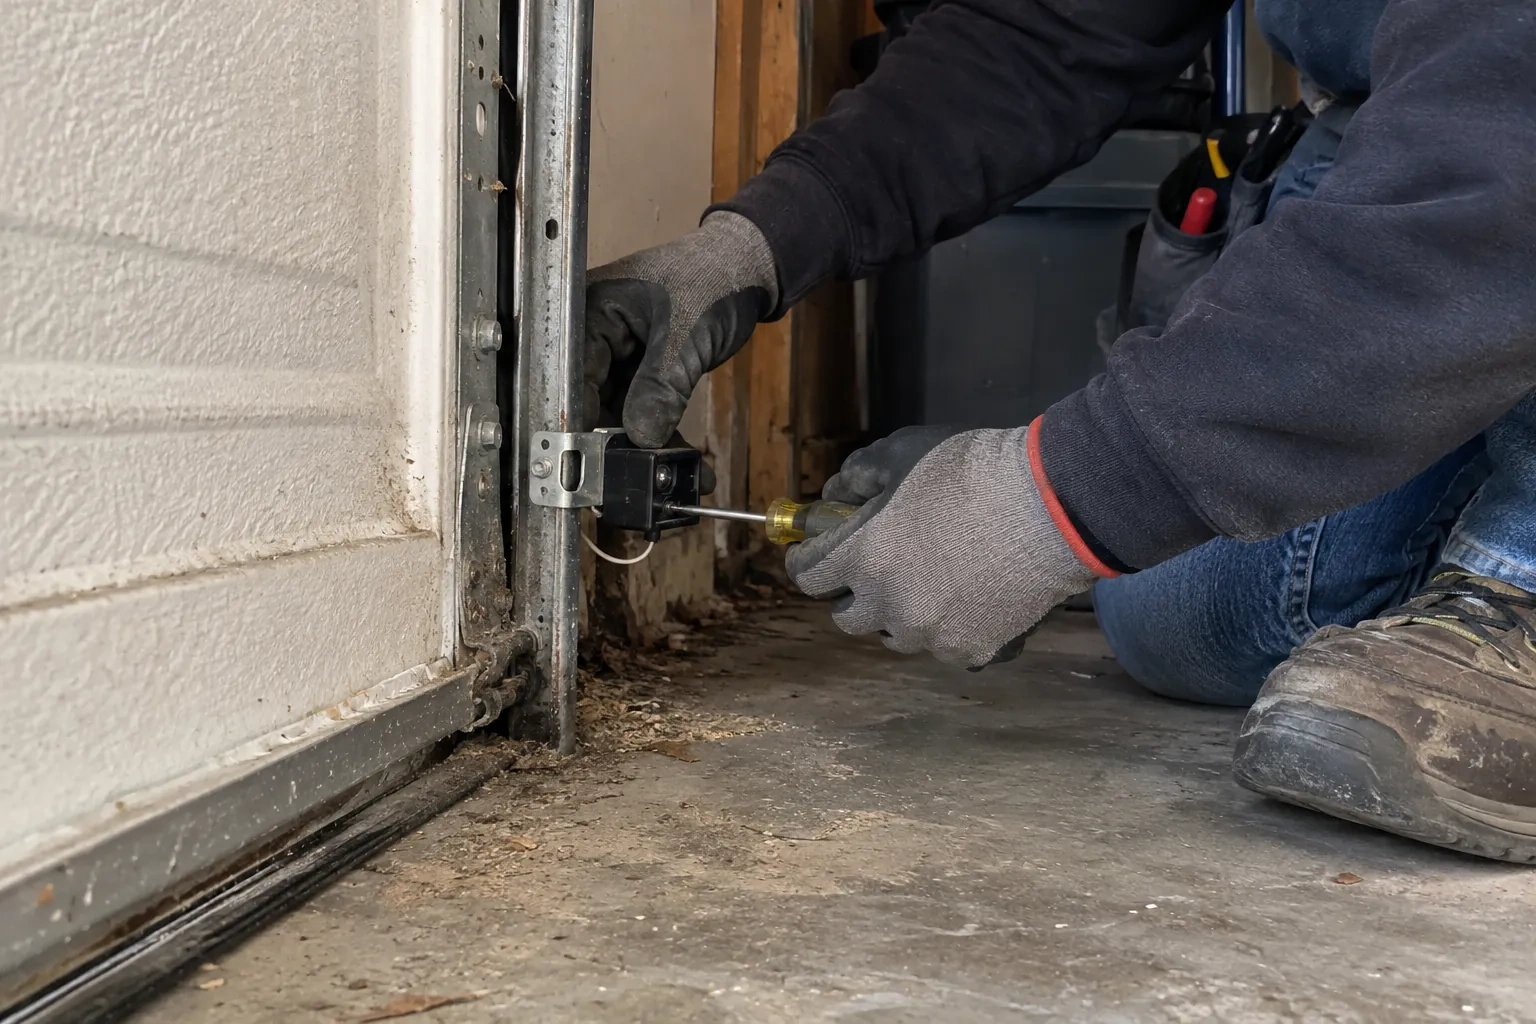
A bent bracket is straightened where the metal allows and replaced where it has cracked or rusted through. New brackets are chosen to suit the mounting: a track-mounted clip that rides the vertical rail, or a right-angle bracket anchored to the wall or the concrete where the track sits too far back. Fasteners that vibrated loose are replaced with the right carriage bolts and wing nuts rather than reused. Where a bracket has been sitting in salt slush every winter, it is set a touch higher within the permitted range and the mounting is sealed against the wall so water stops running behind it.
A record of the work
You have a short written note of what was done: the opener make and model, what the diagnostic code and the sensor lights showed on arrival, whether the fault was alignment, wiring, sun or a worn sensor, what was replaced and where the new parts sit. It records the height the sensors were set at and that both tests were passed with you watching. That note is useful for a home inspection, for the next technician, and for you, because it shows what normal looks like on this door so a future change is easy to describe over the phone.
Photo-Eye Sensor Alignment or Replacement
In the van
Track-mount sensor brackets
Concrete anchors
Two-conductor low-voltage wire
Receiving-eye sun shade
Wall or floor angle brackets
Photo-Eye Sensor Alignment or Replacement
What affects the quote
Access to the doorway and the head unit
A clear strip along the floor and a reachable head unit make for a direct job. Shelving, vehicles or stored goods that must be moved to reach the sensors, wire or terminals add time.
Winter conditions on the day
Snow and ice packed against the brackets, a frozen bottom seal or a frozen floor where anchors must go all add a little clearing and care before the sensor work itself can start.
Door-side findings
A balance problem, a stiff roller or a bottom seal that needs replacing sometimes shows up during testing. Those belong to their own service and are noted and quoted separately rather than hidden in the sensor work.
What to have ready
- Can you see the thin sensor wire, and does any of it look pinched, cut or chewed?
- When you press close, does the door bounce back, sit still, or go down only with the wall button held?
- What make and model is on the opener's label, and roughly how old is it?
Photo-Eye Sensor Alignment or Replacement: questions
QuestionsMy opener has no sensors at all. Can they be added?
If the opener predates the entrapment-protection standard, which operators have had to meet since the mid-1990s, its board has no sensor circuit and a pair cannot simply be wired in. The positive news is that a modern operator brings the whole package: matched sensors, force reversal and a monitored circuit. The technician confirms the model first, because some units do have the terminals and simply had their sensors removed.
Can any sensor pair be used with my opener?
Not any, no. Sensors are matched to the opener's make and generation, and a board from one era may ignore sensors from another even when the wires fit. The technician reads the model from the head unit label and fits the pair listed for it. Some operators accept a documented universal pair, and those are used where the maker lists them as suitable; on a very old unit with no compatible pair, a modern operator is the way forward.
What happens during the visit, in order?
Questions first: what the door does, when it began, what changed. Then the beam path is cleared, the sensor lights are read, the opener's flash code is counted, and the brackets and heights are measured. If the signs point to the circuit, the wire is traced and tested with a meter. The cause is fixed, whether that is alignment, brackets, wire, a shade or a new pair, and the visit closes with the beam test and the contact reversal test.