Openers · Pontypool
Photo-Eye Sensor Alignment or Replacement in Pontypool
Someone backed the car in a little too far, a bin or a bicycle brushed the track, and since then the door starts to close and comes back up.
In plain words
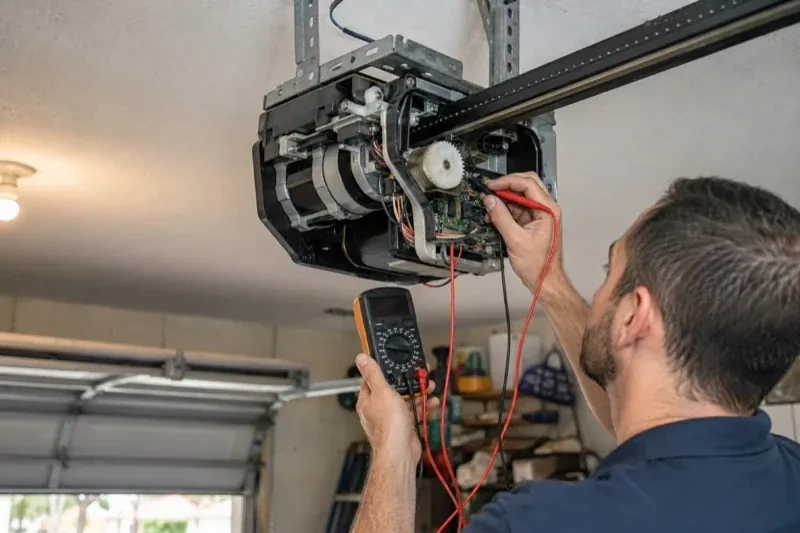
The sensors are only as good as the thin two-conductor wire that links them to the opener. It runs from the low-voltage terminals on the head unit along the ceiling and down each wall to the floor, stapled as it goes, and it is easily pierced, cut during renovations, chewed, or pulled loose at the terminals. When both sensor lights are dark, or the opener's code says the circuit is open or reversed, the technician tests the run end to end, repairs the damaged section or replaces the whole run, checks polarity at the terminals, and clips the new wire clear of the track.
How the visit goesThe door will only go down while a finger stays on the wall button; let go and it stops or reverses. From the remote it opens fine but never closes, so someone has to stand in the garage every time.
Photo-Eye Sensor Alignment or Replacement
How the visit goes
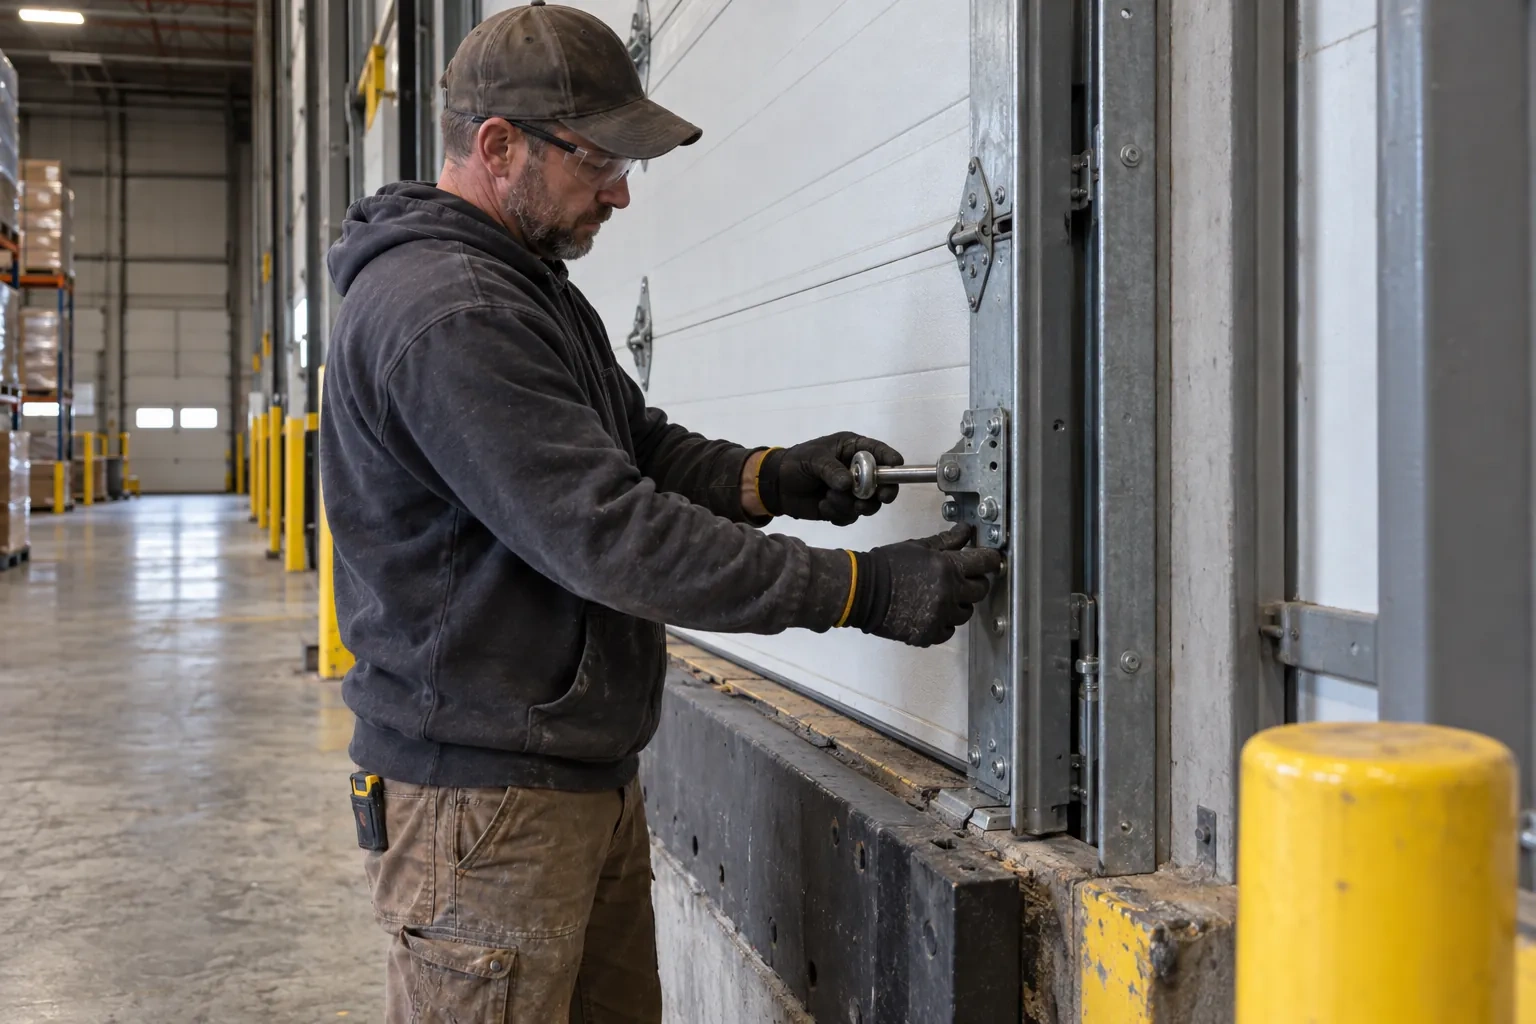
Brackets and height on both sides
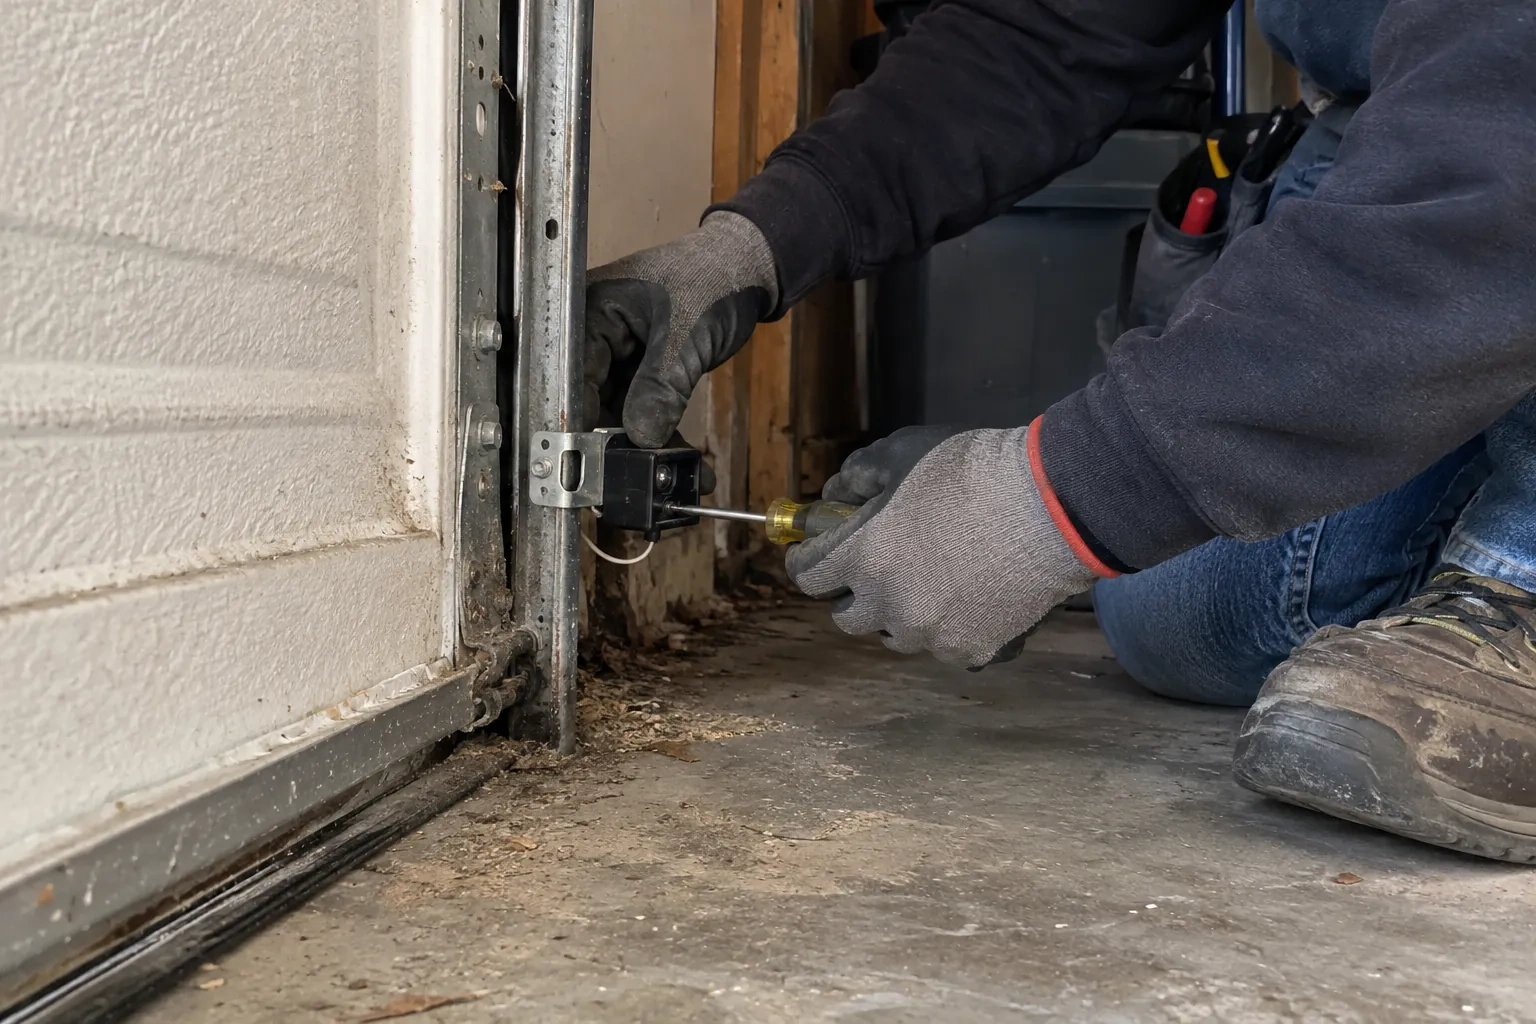
The two sensors have to sit at the same height, level, and facing each other squarely, no higher than about 15 cm (6 in) above the floor so the beam catches a small child or a pet. The technician measures both sides, because a bracket that has slipped a couple of centimetres down a track leg is enough to lose the beam. Each bracket is checked for bends from a bumper or a bin, for loose carriage bolts or wing nuts, and for rust where salt slush has sat against it for winters on end. A bracket screwed to a wall or the floor is checked for anchors that have worked loose.
Repairing the wire run
Damaged wire is dealt with in whole sections rather than patched at a single point. A pierced or chewed length is cut back to sound insulation and either spliced with proper connectors or, more often, replaced from the sensor to the nearest good junction. Where the run has failed in more than one place, a fresh two-conductor wire is stapled from the motor housing across the ceiling and down both sides of the opening, kept clear of the track, hinges and the door's travel. At the head unit the pair is landed on the correct low-voltage terminals with polarity confirmed, and the sensor lights are checked before anything is tidied.
Keeping the brackets out of harm's way
Most repeat sensor calls come from the same few habits, and they are easy to change. Keep recycling bins, bicycles, boots and the snow shovel away from the bottom of the door track on both sides. Park with a little room to spare so a bumper never meets a bracket. When you sweep or blow snow out of the garage, aim away from the sensors rather than at them. If shelving or a workbench goes in along that wall, leave the strip near the floor free. The brackets are sturdy, but they hold a precise line, and a nudge that would not bother anything else is enough to lose the beam.
Photo-Eye Sensor Alignment or Replacement
In the van
Track-mount sensor brackets
Concrete anchors
Two-conductor low-voltage wire
Receiving-eye sun shade
Wall or floor angle brackets
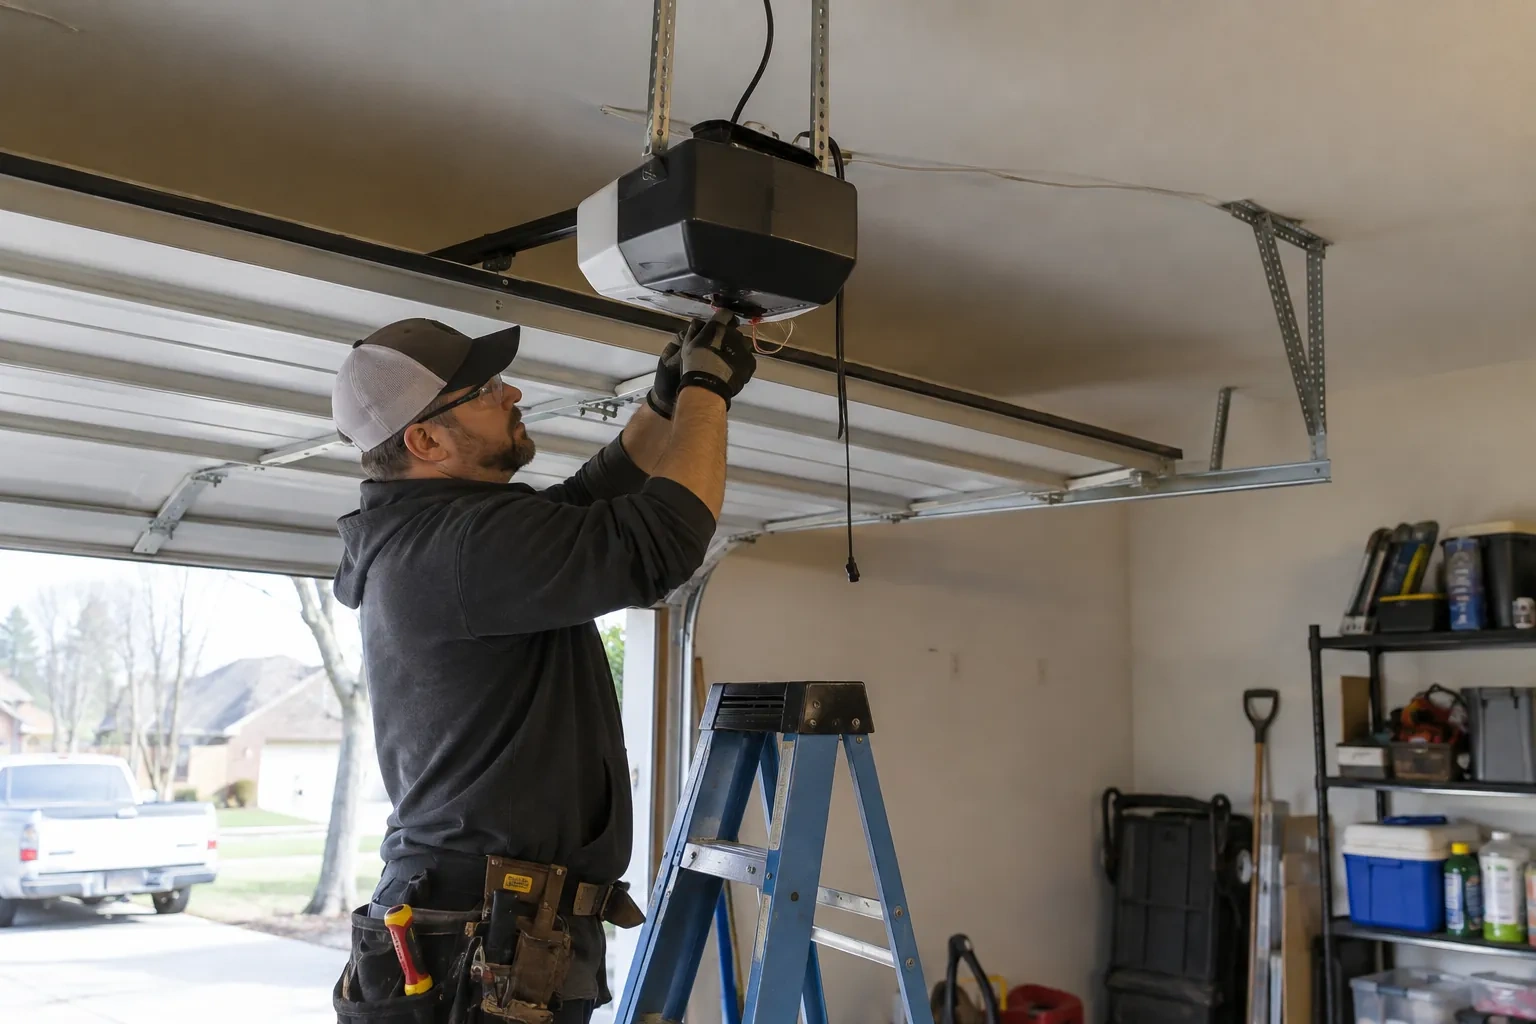
Photo-Eye Sensor Alignment or Replacement
What affects the quote
Protecting exposed wire
On a wall where the wire runs in the open, a slim protective channel or a re-route higher along the wall keeps bins, bikes and mice away from it, and is quoted as its own line.
Wall or floor mounting with anchors
Mounting into concrete or masonry rather than onto the track means drilling, anchors and sealing against water, which takes more time than clipping to the rail.
Access to the doorway and the head unit
A clear strip along the floor and a reachable head unit make for a direct job. Shelving, vehicles or stored goods that must be moved to reach the sensors, wire or terminals add time.
What to have ready
- Can you send photographs of both sensors, the head unit label and the wall control?
- What do the two small sensor lights show: both steady, one dark or flickering, or both dark?
- Does the opener light flash when you press close, and how many times?
Photo-Eye Sensor Alignment or Replacement: questions
QuestionsMy opener has no sensors at all. Can they be added?
If the opener predates the entrapment-protection standard, which operators have had to meet since the mid-1990s, its board has no sensor circuit and a pair cannot simply be wired in. The positive news is that a modern operator brings the whole package: matched sensors, force reversal and a monitored circuit. The technician confirms the model first, because some units do have the terminals and simply had their sensors removed.
Can any sensor pair be used with my opener?
Not any, no. Sensors are matched to the opener's make and generation, and a board from one era may ignore sensors from another even when the wires fit. The technician reads the model from the head unit label and fits the pair listed for it. Some operators accept a documented universal pair, and those are used where the maker lists them as suitable; on a very old unit with no compatible pair, a modern operator is the way forward.
What happens during the visit, in order?
Questions first: what the door does, when it began, what changed. Then the beam path is cleared, the sensor lights are read, the opener's flash code is counted, and the brackets and heights are measured. If the signs point to the circuit, the wire is traced and tested with a meter. The cause is fixed, whether that is alignment, brackets, wire, a shade or a new pair, and the visit closes with the beam test and the contact reversal test.